The Correct Way To Read A Compass
By Adelia Ladson
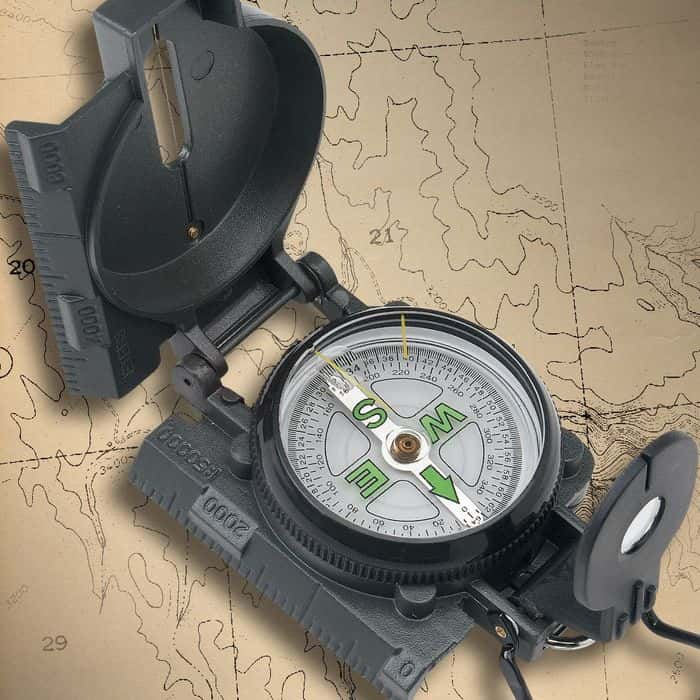
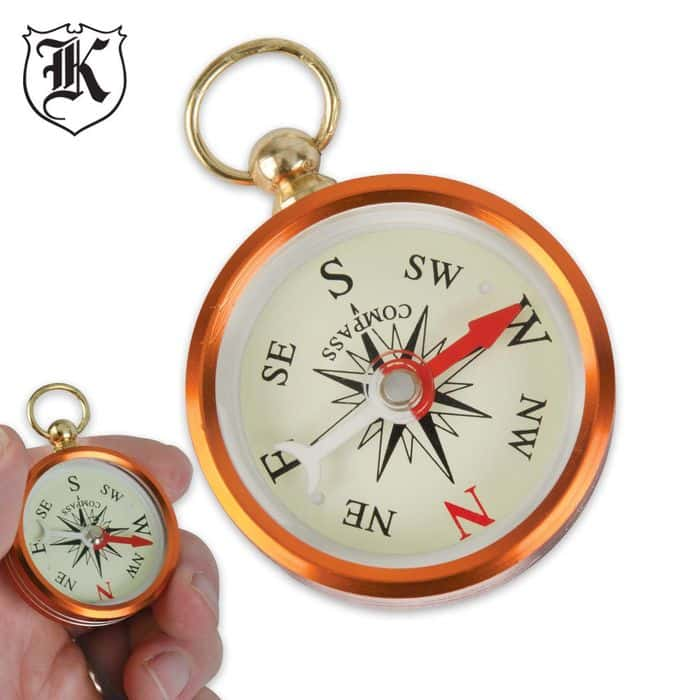
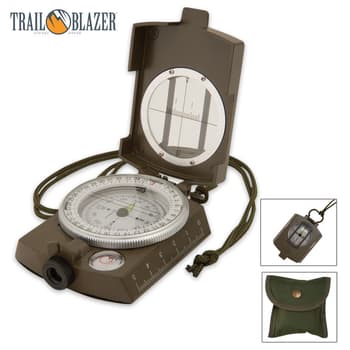
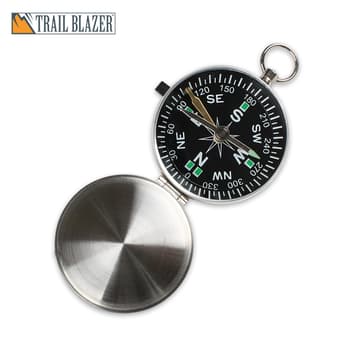
 This is your basic compass face.
Shop All Compasses Here I had a cousin who got lost in the woods with a compass when he was a kid. Some of you may be thinking that he wasn’t very smart but you’re wrong. He is not alone because the simple fact is that there are many out there that just don’t know how to read a compass correctly. It happens all the time. (By the way, now my cousin could probably find his way out of any woods without a compass.) I think there’s a lot of people out there that just don’t realize that there is a science to reading a compass. Here is just a brief rundown on the basics.
First and foremost, the compass is pretty much never wrong if used correctly. It is user error in reading and taking bearings from it and that create the problems. I think the most basic error most people make is that they don’t make sure that they know which direction they started out from at the very beginning of the trip. Yeah, it’s great to know which way North, South, East and West is located but doesn’t do you any good if you don’t know which direction to take to get back. They key is to simply pay attention to your surroundings. Know the direction you started out from and what it looked like on the way in. Keep your eyes open and enjoy the scenery but make sure to make a mental note of landmarks and prominent features along the way.
First and foremost, the compass is pretty much never wrong if used correctly. It is user error in reading and taking bearings from it and that create the problems. I think the most basic error most people make is that they don’t make sure that they know which direction they started out from at the very beginning of the trip. Yeah, it’s great to know which way North, South, East and West is located but doesn’t do you any good if you don’t know which direction to take to get back. They key is to simply pay attention to your surroundings. Know the direction you started out from and what it looked like on the way in. Keep your eyes open and enjoy the scenery but make sure to make a mental note of landmarks and prominent features along the way.
 This is your basic compass face.
 In case you didn’t know, (bear with me if you did) a compass doesn’t point to what is called True North. It actually points to Magnetic North and the term “declination” is basically the difference between the two. So, if you have a map that you are using with your compass, (Which you absolutely should have if you’re going trekking out into an area!) remember, based on where you are in the world, there will be a difference between your map’s north and your compass’ north. Most maps will show this declination for your specific area so that you can make the adjustment when taking a bearing.
Because your compass works because it aligns with the Earth’s magnetic field, you need to make sure that there are no other magnetic fields that will affect it when you’re taking a bearing. This may seem like a no-brainer but what about that cell phone in your pocket? Anything that can conduct electricity or produce electricity has the possibility of interfering with your compass. That includes the batteries in your flashlight in your backpack. It’s better to be paranoid than sorry.
When you look at the average compass of today, aside from the directions North, South, East, West and all the in-betweens, you will see 360 degrees marked off, as well. These degrees are what you use to take your bearing from when you are using your map of the area. By the way, I’m talking about just using a simple, no frills, no thrills compass. There are ones out there that do so much more but let’s stick to the time-tested original. A note on reading a compass: Make sure the compass is on a level surface when you take your reading because the needle needs to move freely. If the compass is tilted, the needle may catch against the case and not give you a correct reading.
When you read your compass, don’t make the mistake of thinking that the direction the needle is pointing is the direction that you are pointing. The needle is always going to point Magnetic North regardless of what letter it’s pointing to at the moment. So, you need to turn the compass until the needle is actually pointing at the “N.” Now, you can see which direction you are really facing by looking at the direction now indicated at the top of the compass. Believe me, this is actually a common mistake that is made so that’s why I’m explaining it.
To take a bearing using your map, you need to first align the map with your compass. Lay the map on level ground so that North on the map and North on the compass are pointing in the same direction. Remember, though, since your compass is not pointing True North, neither is your map when you align them. This is where declination comes in and you need to look on your map for the degrees of variation you need to account for when making your bearing calculations. It should be on the side of the map somewhere, possibly, in a box. Unless, of course, you’re in the Appalachian Mountains where there’s no variation at all because True North and Magnetic North are in alignment. It sits on an agonic line, which runs through Lake Michigan all the way down to off the coast of Florida. (Just a tidbit of trivia for you.) So, if you’re East of this agonic line, the variation will be to the West and if you’re West of it, the variation will be to the East. If your map says the declination is 35 degrees West, then you need to rotate your map that many degrees clockwise so that your compass needle is showing a heading of 35 degrees to the west of the North grid lines on the map. If it says 35 degrees East, just rotate it counterclockwise. Now, that your map and compass are on the same page, so to speak, you can take your bearing.
Look around you and pick something like a mountain peak or some prominent landmark and find it on your map. What degrees is this item located on your compass? If, for example, the peak is at 145 degrees, you can draw a long line on the map from the representation of the object at a 145 degrees angle and you now have your line of position (LOP). In otherwords, you’re located somewhere on this line. To find out where you are on the line, you need to look around you and find another prominent feature that can also be found on your map. Repeat the process of getting its degrees and draw a line on the map from it at the angle of these degrees. When you draw this line, make sure that it is long enough to intersect your first line. This intersection is where you’re located.
Look around you and pick something like a mountain peak or some prominent landmark and find it on your map. What degrees is this item located on your compass? If, for example, the peak is at 145 degrees, you can draw a long line on the map from the representation of the object at a 145 degrees angle and you now have your line of position (LOP). In otherwords, you’re located somewhere on this line. To find out where you are on the line, you need to look around you and find another prominent feature that can also be found on your map. Repeat the process of getting its degrees and draw a line on the map from it at the angle of these degrees. When you draw this line, make sure that it is long enough to intersect your first line. This intersection is where you’re located.
If you are simply following your compass in one direction without the use of a map, then you need to make sure you follow it without deviation, which could be incredibly difficult when you consider the terrain you might encounter. If, however, you have managed to do that, then to get back to where you started, the easiest thing to do is to turn your compass around and read it. Now, you will read the South needle as your North. This gives you the reversal of direction you need to retrace your steps back to where you started from. This may seem too easy but is effective if you have stuck with a straight path and did not deviate from it.
